
Advisor Group Upgrade to Exchange 2016
Utilize the tabs below to view post-upgrade instructional content for multiple configuration types.
If you need further assistance please contact your dedicated email upgrade support at 1-800-206-5836
Get Ready, Get Upgraded, Go!
 Please do not perform the Post-Upgrade steps until your individual account has been upgraded to Exchange 2016.
Quick Start: Access Your Email Immediately Post-Upgrade
Once your upgrade is complete, your email will be available from any internet connected device via https://agmail-2fa.smarshmail.com
Please add this URL to your bookmarks for easy access! Need to create your email signature? Click here to learn how.
Note: If you use an email client configured via POP/SMTP, you may not see everything in Outlook on the Web that you usually see on your computer. Data downloaded from the server via POP is saved to your computer and will be accessible post-upgrade via your computer’s email client.
Ready to Configure Devices?
Utilize the tabs above to view post-upgrade instructional content for multiple configuration types.
Access Webmail
If you currently access your email exclusively via a web browser, upgrading to Exchange 2016 only requires use of a new URL to access your email. All email, calendar items and contacts on the server are migrated as part of the upgrade and your password remains intact
Access your Smarsh Hosted Email Services immediately post-upgrade via https://agmail-2fa.smarshmail.com.
Multi-Factor Authentication:
As part of the Advisor Group CyberGuard Program, your Advisor Group Outlook Web Access (OWA) email will be protected behind two-factor authentication (2FA) for your Exchange 2016 hosted mailbox. Click Here for more information and set-up instructions.
Need to re-create your email signature? Click here to learn how.
Having issues with your password?
Many browsers allow you to save your password and will auto-fill this information each time you reach the log in screen. After your upgrade to Exchange 2016 you will utilize a new webmail link. Your browser will not know to use your saved email credentials on this new site.
Please utilize the instructions below to recover a saved password from your previous webmail login page. This password can also be used to log in to the new webmail site https://agmail-2fa.smarshmail.com.If you are unable to locate your password using the instructions below, please contact technical support.
Google Chrome
![]()
Google Chrome
- In the Address Bar type : chrome://settings/passwords
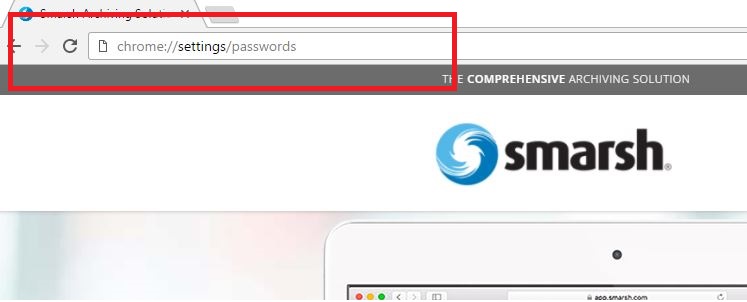
- Search for your old webmail address (i.e.webmail.smarshconnect.com) then click on the credential, and click on show.
Internet Explorer & Microsoft Edge (Windows 10)
![]()
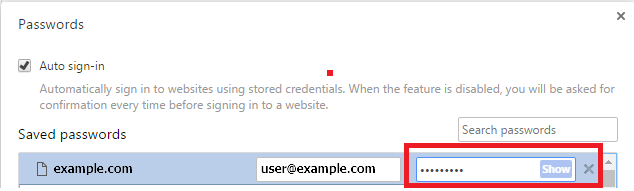
Internet Explorer &Microsoft Edge (Windows 10)
- Click on Start Menu

- Type in Credential Manager
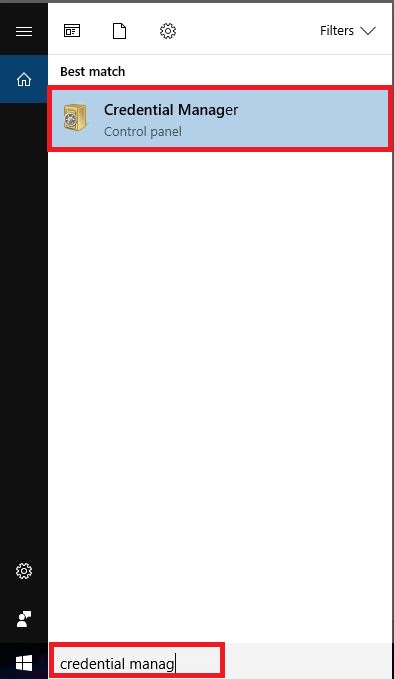
- Open Credential Manager
- Click Show next to the credential you would like to reveal
Mozilla Firefox
![]()
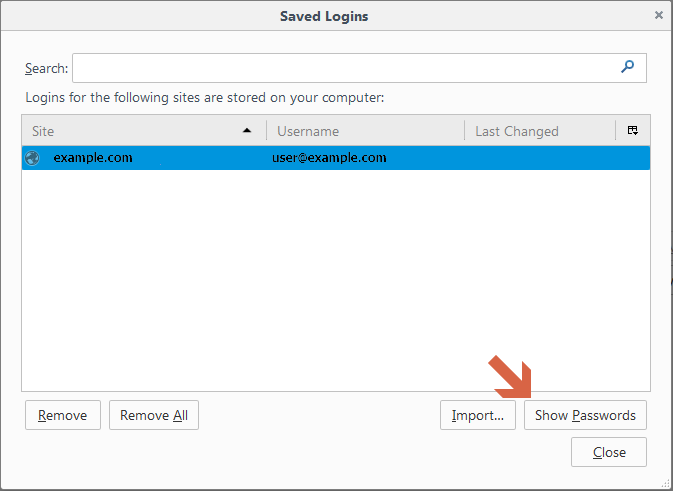
Mozilla Firefox
- In the Address bar type: about:preferences#security
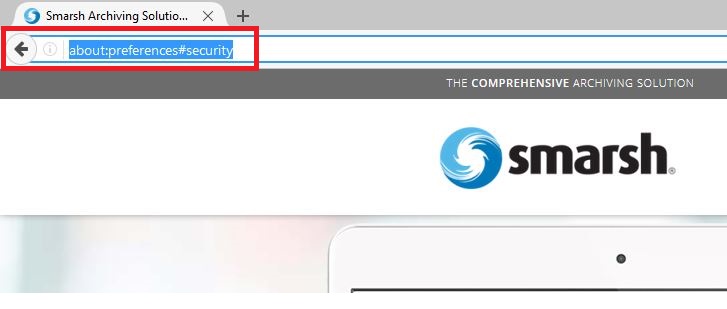
- Click on Saved Logins…

- Click on Show Passwords in bottom right corner
Steps for Outlook 2016 setup
- Navigate your browser to https://smarshmail.com/
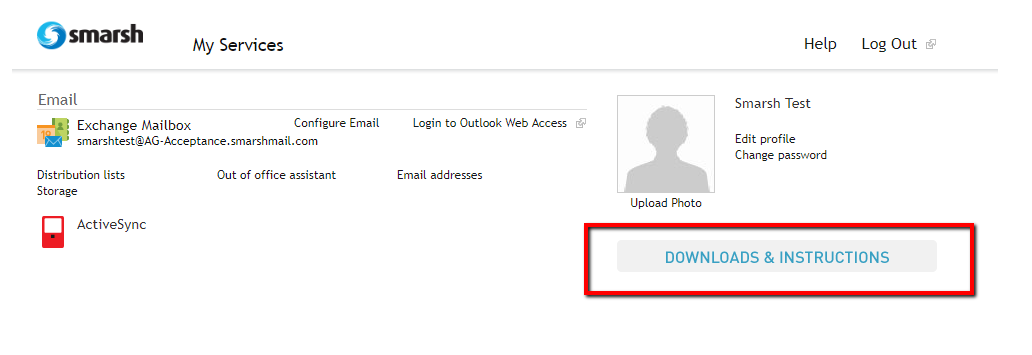
Click My Services and Log in with your Email Credentials
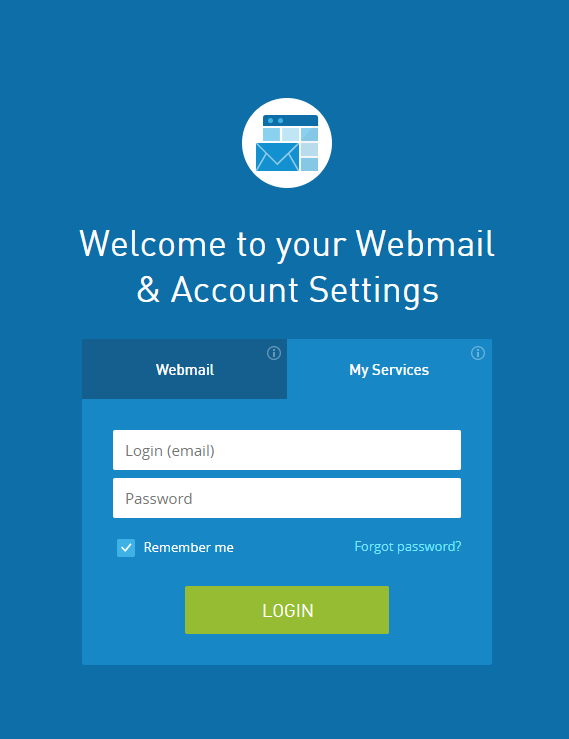
- Fill out alternative email address and phone number
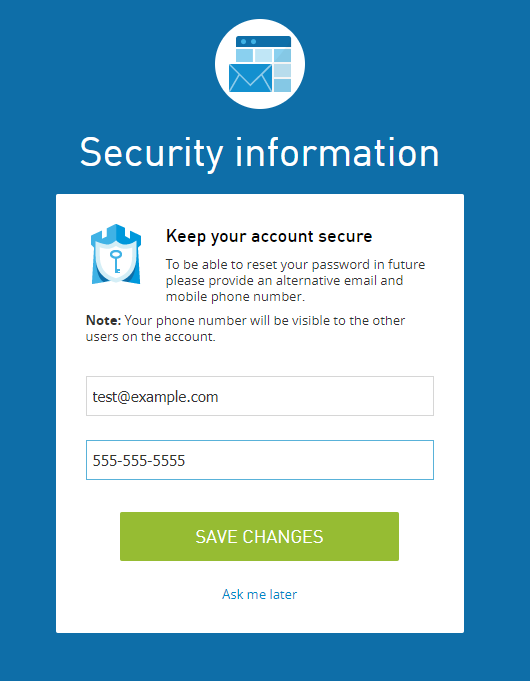
- Click Downloads and Instructions
- Click download outlook

- Under Outlook 2016, choose the correct bit version for your computer and Click Download
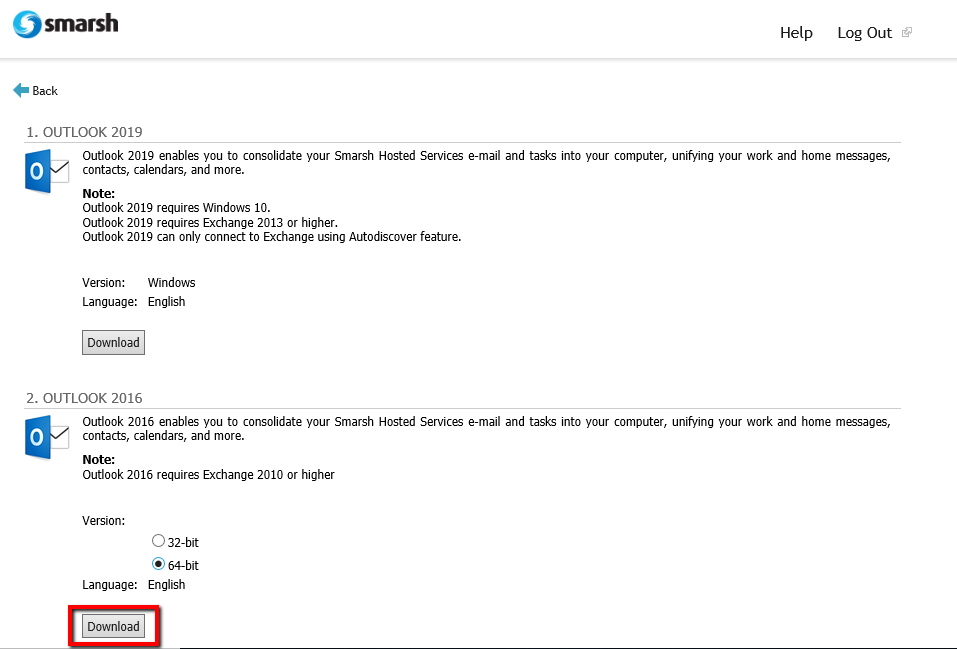
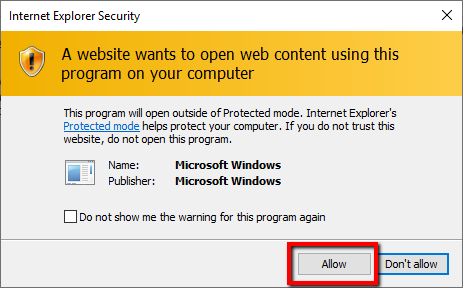
- Save file, then open – if prompted with security window click allow

- In file explorer, open “Setup”
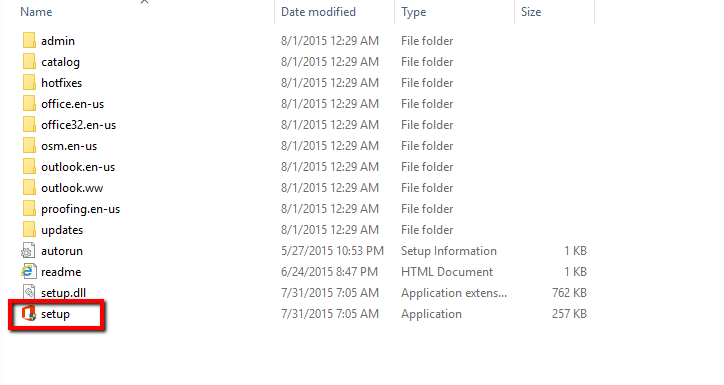
- If prompted, allow app to make changes to your device
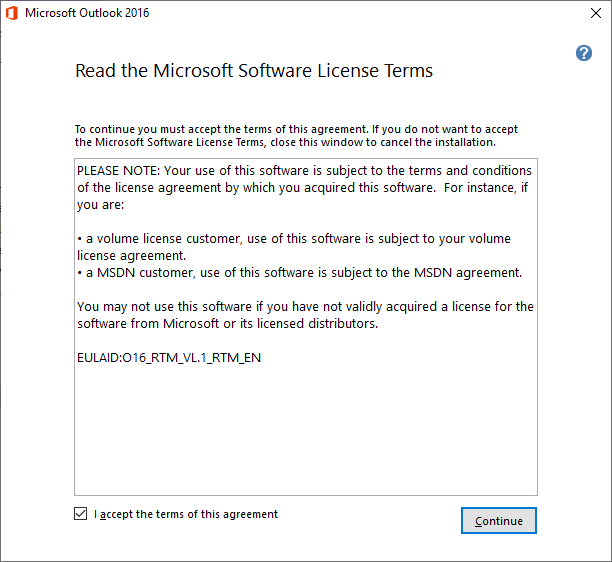
- In the following window, check “I accept the terms of this agreement” then click “Continue”
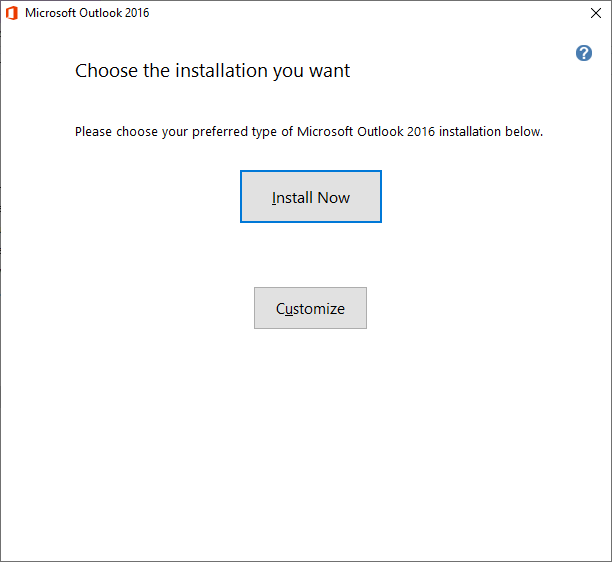
- In the following window, Click “Install Now”
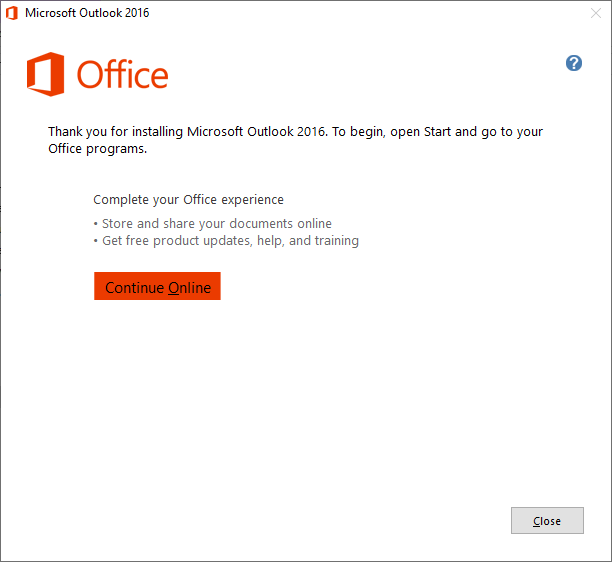
- Outlook will then install

- Close install window
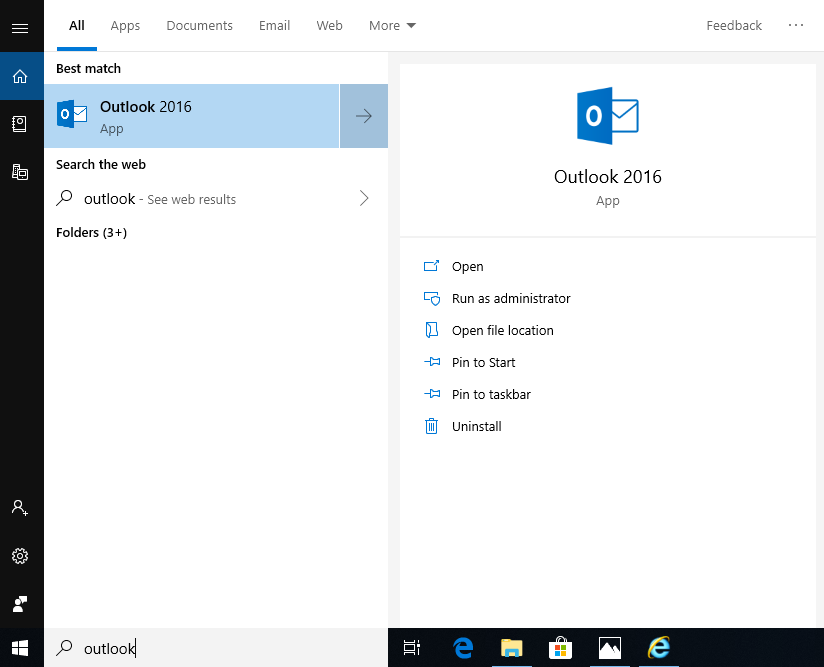
- Search for the Outlook app and run
- In the next window, Click next
- In the next window, make sure the radial button “Yes” is checked, then click “Next”
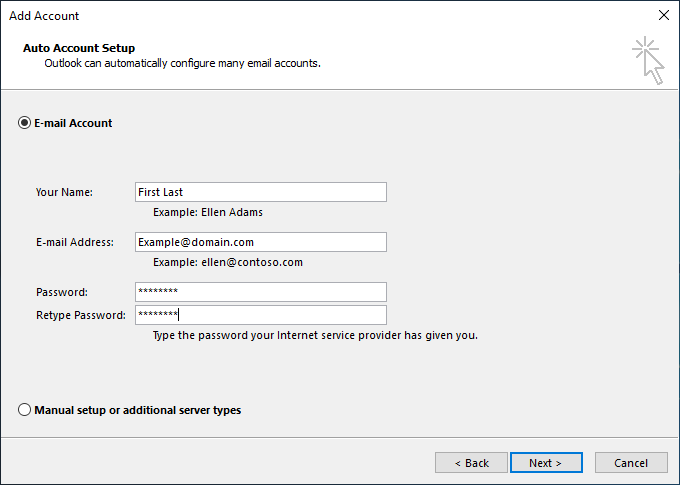
- In the next window, enter in you Name, Email address and password, then click “Next”
- In the next window, outlook will attempt to configure
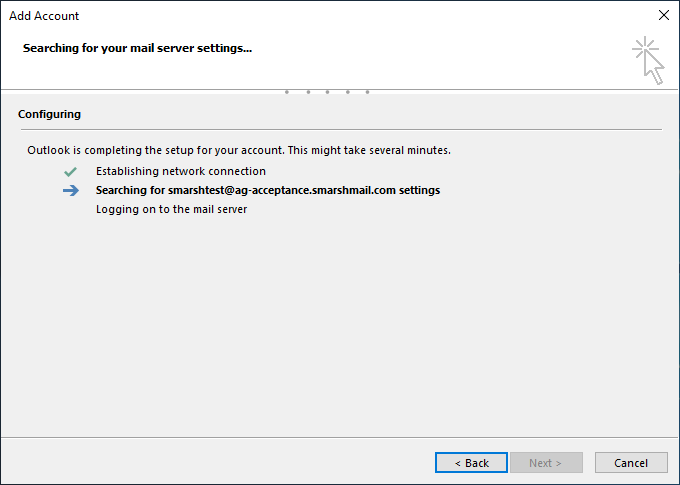
- When prompted “allow this website to configure [email address] server settings check box “don’t ask me about this website again” and click allow

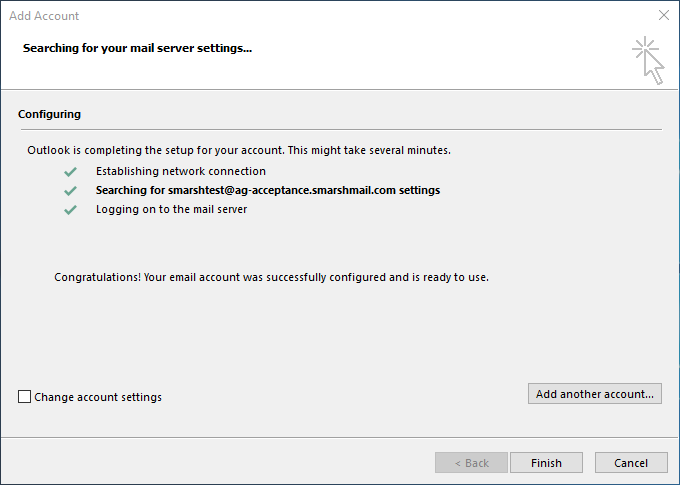
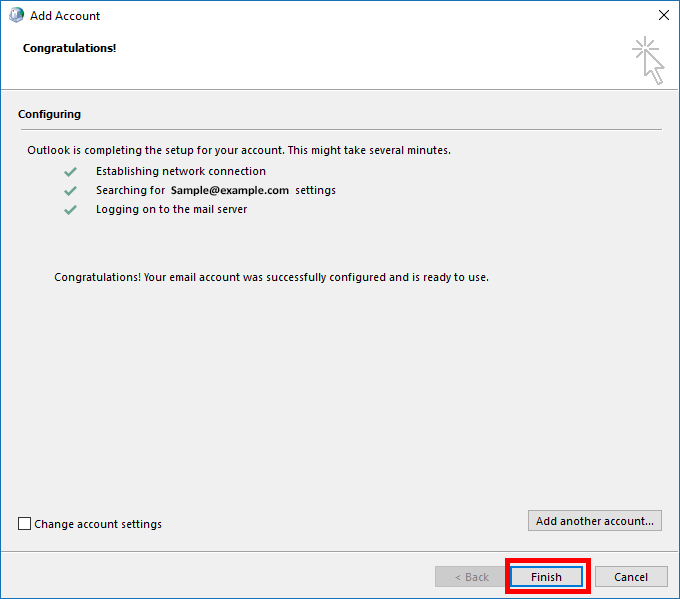
- Your outlook setup is now complete, click finish
| Post-Upgrade Example: Windows – Outlook 2016 – Full Exchange Users |
Post-Upgrade Steps: Windows – Outlook – Full Exchange Users
Start Outlook or Allow Outlook to Restart
- Following the upgrade of your Exchange mailbox your Outlook client will need to restart. Upon receiving the restart notification, click OK, then close and restart Outlook. If you are not prompted to restart Outlook or if Outlook is closed at the time of your upgrade, please start Outlook.
Enable Autodiscover
- Microsoft Outlook will display prompt in the form of a pop-up window to “Allow this website to configure…server settings”:
- Check “Don’t ask me about this website again”.
- Click Allow.
Enter Credentials
- When prompted for credentials enter your Outlook credentials as follows:
- Primary email address (example: FirstLastName@domain.com or janesmith@domain.com)
- Your email password
- Check “Remember my credentials”
- Click OK
- If prompted by Outlook to restart, allow Outlook to restart. After restart, you may be asked to enter your credentials again. Please enter your credentials and select “Remember my credentials” to store them for ease of use. Note: It is recommended that you close all applications and fully restart your computer after this upgrade.
- Your Outlook email client’s connection has now been configured to the Exchange 2016 hosting environment.
Did the above instructions not work? Click link below for more detailed an manual set-up instructions:
Windows:
Apple Mac OS:
Configure Windows Outlook 2013/2016 POP/IMAP to Full Exchange
This page will guide you through the following steps:
- Create a New Outlook Profile
- Connect PST Data to Outlook
- Set Your New Outlook Profile as the Default
Create a New Outlook Profile
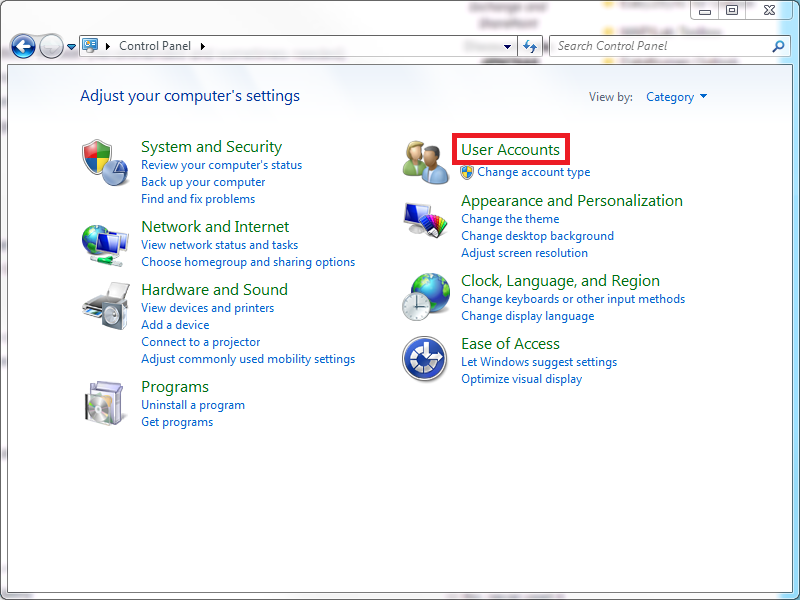
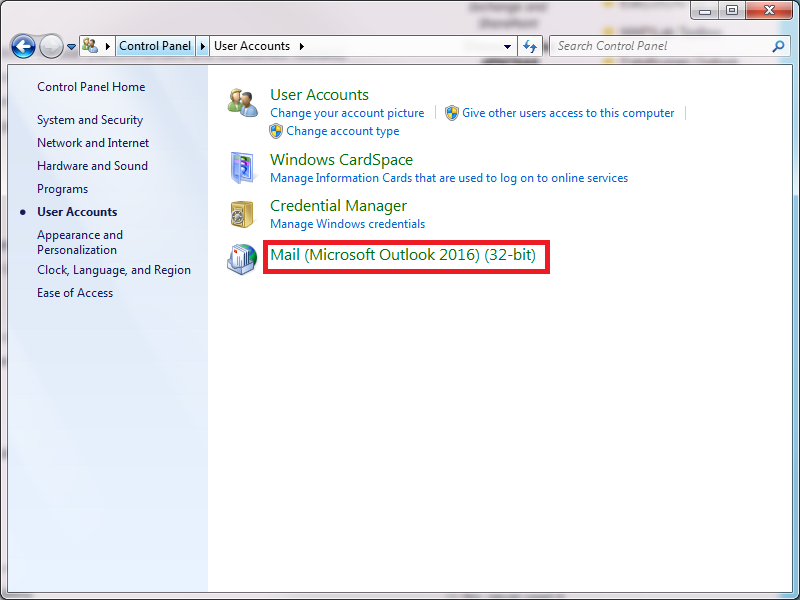
- Navigate to the Windows Control Panel and select Mail. The location of your Mail option depends on your version of Windows and on your layout settings of the control panel. If viewing the control panel by category, select User Accounts to view the Mail applet.
- Once the Mail Setup page appears, select Show Profiles.
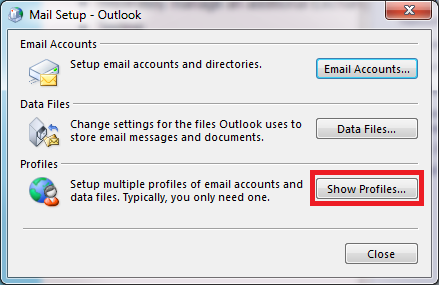
- In the Mail window, click Add to create a new Outlook Profile.

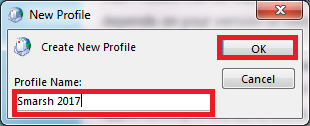
- In the New Profile window, enter the desired name for your new Outlook Profile, for example: Smarsh 2017. Click OK when finished.
- If your computer is currently connected to another email service or to an Office 365 account, a dialog window may appear asking if you would like to connect to those services. If you see this dialog window, select Connect to a different account in the bottom right-hand corner of that message.
- In the Add Account window, the Email Account radio button will be selected by default.
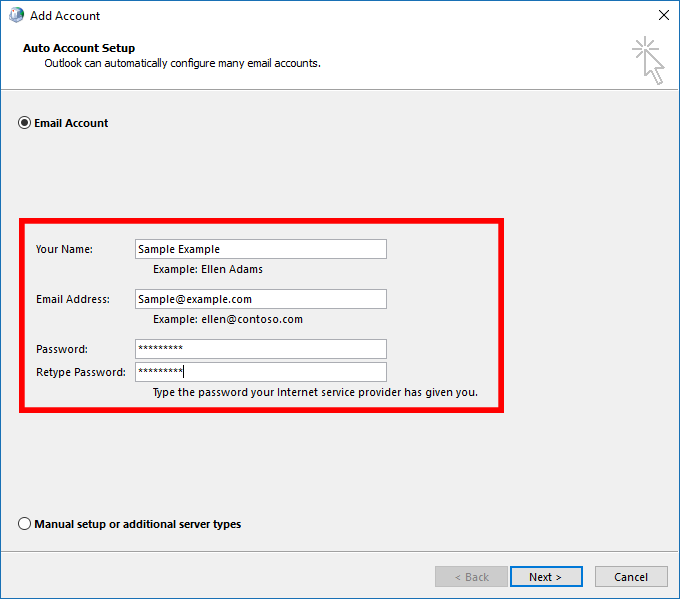
- Please complete the dialog box:
| Your Name: | Your Full Name |
| Email Address: | Smarsh Hosted Email Address |
| Password: | Email Password |
| Retype Password: |
Email Password |
- Click Next
- Once your new profile has been created, the Add Account window will indicate that you’re all set. Click Finish.
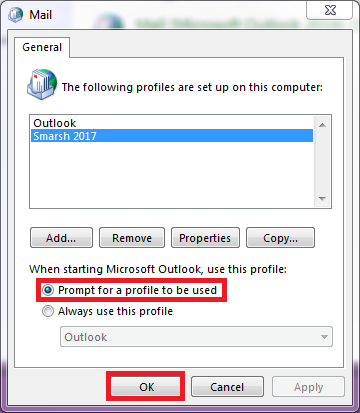
- After you have clicked Finish, you will be directed back to the Mail window where your additional profile will be listed. To utilize your new profile in Outlook immediately, while still maintaining quick access to your old configuration, ensure the Prompt for a profile to be used radio button is selected and click OK.
Connect PST Data to Outlook
- Start Outlook. The Choose Profile window will appear. Select your old profile from the Profile Name drop-down and click OK.
- At the top of your Outlook ribbon, choose File.
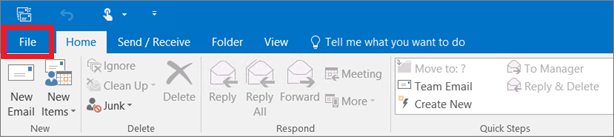
- Choose Open & Export > Open Outlook Data File.

- Outlook will look for .pst files on your computer. Select the .pst for your old profile and click
- If you are unable to locate the .pst file associated with your old profile, click here for help on locating Outlook Data Files. Still having trouble? Click here to learn more about opening Outlook Data Files.
- Once opened, the data from your old profile is accessible in Outlook via the left-hand navigation bar.
- Quit Outlook and continue to the next step.
Set Your New Outlook Profile as Default
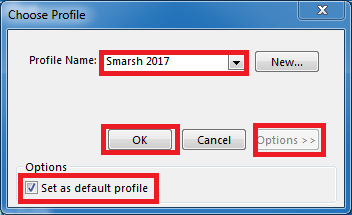
- Start Outlook; the Choose Profile window will appear. Select your new profile from the Profile Name drop-down and click Options. Check the Set as default profile option and click OK. Going forward, Outlook will utilize your new profile by default.
Configure Apple Mac Outlook 2016 POP/IMAP to Full Exchange
This page will guide you through the following steps:
- Export Existing Mail from Outlook
- Import Existing Mail back into Outlook
- Remove your Old Mail Account
- Add your New Email Account
Export Existing Mail from Outlook
- Launch Outlook.
- Click File and select Export.
- Select All Item Types.
- Click Continue.
- Save the Outlook Data File (.olm) in an easy to find location. Click Continue.
- Once the Export completes click Finish.
Import Existing Mail Back into Outlook
- In Outlook, click File, then select Import.
- Select Outlook Data file (.olm) and click Continue.
- Browse to where you saved your Outlook Data File (.olm) in the previous step. Click Import.
- The import will start immediately. Click Finish once complete.
Remove your Old Mail Account
Note: Do not complete this portion of the instructions prior to exporting and/or importing your old mail. Failure to export old mail prior to removing your old account may cause data loss if messages are only stored locally on your computer and are no longer stored on the email server.
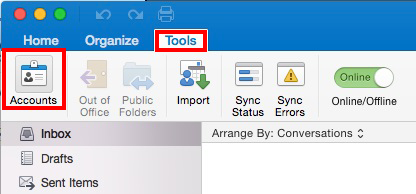
- In Outlook, click Tools > Accounts
- Select the Account and click the minus symbol (-) in the bottom left hand corner of the Accounts screen.
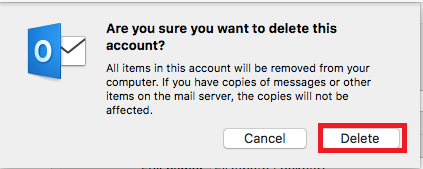
- Outlook will warn you of a data loss; ONLY if you have verified you have imported your mail per the previous instructions should you click Delete and continue forward.
Add your New Email Account
- Open Outlook 2016
- Click Tools > Accounts
- In the Accounts box, click Exchange or Office 365.
NOTE: If you have additional accounts currently configured in outlook, please click the + button to add your new Exchange account.
- Please complete the following on the next screen of the dialog box:
| Email Address: |
Smarsh Hosted Email Address |
| Method: | User Name and Password |
| User Name: |
Smarsh Hosted Email Address |
| Password | Email Password |
| Server (if prompted) |
mail.smarshmail.com |
- Once Complete, Click Add Account

- You have successfully upgraded from POP/IMAP to Full Exchange.
Configure Mobile Devices
You will need to re-configure your email on every mobile device currently configured to access your email.
Instructions are linked below:
- iPhone: Click Here
- Android: Click Here
Important: The ActiveSync service should be enabled for your mailbox by the administrator. If the service is not enabled, you will see the button Request under ActiveSync. It allows you to request the service. It will be provisioned for you once the administrator approves it.To check the ActiveSync settings:
- Click ActiveSync button

- Next to settings there is a list of Knowledge Base articles where you can find illustrated instructions and troubleshooting steps for your type of device.

- Click ActiveSync button
- BlackBerry OS 10: Click Here
| Apple iOS 10 Device: Full Exchange Mailboxes |
Android Device: Full Exchange Mailboxes |
|
Username: Primary Email Address |
Username: Find this by Clicking Here |
Manual Configuration Instructions
If you previously had a full Exchange mailbox and you do not receive a prompt from Outlook to restart, please follow the manual configuration instructions for your mail client, using the following server settings and associated knowledge base articles:
2013 Outlook for Windows: Click Here
2016 Outlook for Windows: Click Here
2016 Outlook for Macintosh: Click Here
Apple Mail or Mac Mail: Click Here
| Configuration Item | Server Settings |
| ActiveSync | agmail.smarshmail.com |
| Outlook | agmail.smarshmail.com |
| SMTP | agmail.smarshmail.com |
| Autodiscover | autodiscover.agmail.smarshmail.com |
Configure via POP or IMAP
If you previously were configured via POP or IMAP and/or you did not receive an alert to restart Outlook, please follow these linked instructions to configure Outlook for POP/IMAP.
Please use the settings and account details in this section to configure via POP/IMAP. Note: Smarsh recommends IMAP vs. POP in favor of a more consistent experience across devices.
| Server | Port | Encryption |
| Incoming Server (POP3) | 995 | SSL |
| Incoming Server (IMAP) | 993 | SSL |
| Outgoing Server (SMTP) | 587 | STARTTLS or TLS |
| Requested Detail | Full Detail |
| Your Name | Your Full Name |
| Email Address | Smarsh Hosted Email Address |
| Incoming Mail Server | agmail.smarshmail.com |
| Outgoing Mail Server | agmail.smarshmail.com |
| Username | Smarsh Hosted Email Address |
| Password | Email Password |